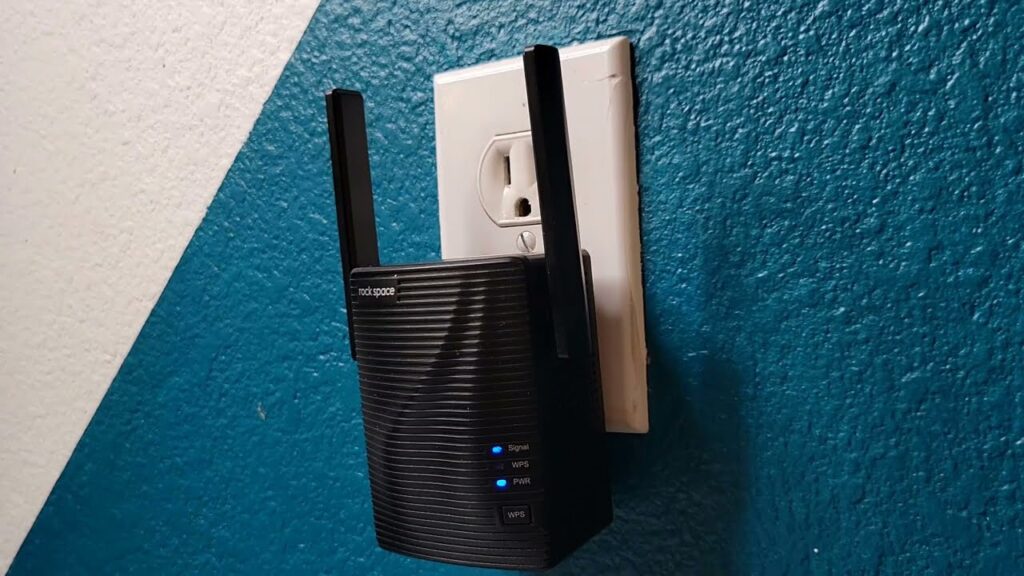
Rockspace WiFi extender is the dominant tool to extend the home network throughout the house. Extender covers every nook and cranny of your house and removes the WiFi dead zones. But, do you know that Rockspace Company recommends all users change their password after completing the configuration of an extender. If you still use the default credentials to access the re.rockspace.local/login.html page, then we suggest you change the admin password as soon as you can. After all, it is a matter of security. By changing the password you will secure your home network from the wrong hands.
However, if you are unaware of the process then read this post. In this post, you will learn all the steps to change the password of the extender.
Change Rockspace Wifi Extender Password | Steps
Power on Your Rockspace WiFi Extender
In the beginning, you need to power on your extender by giving constant and reliable electricity from the socket. Make sure you use a well-conditioned wall outlet to avoid the issue.
Connect the Extender and Router
Now, you need to create a strong connection between the Rockspace extender and host router wirelessly. You can also use the Ethernet cable.
We recommend you use the Ethernet cable if you want to avoid the internet network dropping issue.
Open the Internet Browser
To do this, you need to switch on your computer first. You can also use the laptop as well. Once you turn on your respective desktop, launch the internet browser on the device.
You need to make sure that your internet browser is running on the updated version. As it is seen that the oldest version of the web browser does not support the default web and IP address of the extender.
Access 192.168.0.254 IP
Once you open the updated internet browser on your device, type the 192.168.0.254 default IP into the address bar. You need to be careful while typing the IP address. The reason being many users make typing mistakes and put the wrong IP address into the address bar and face issues.
You also need to ensure that you put the default IP into the address bar, not in the search bar.
-
Hit the Enter Button.
Log Into Rockspace Extender
You will see the Rockspace extender login panel. Here, you need to fill in the on-screen fields by default username and password. If you forget the default credentials then take the help of the user manual that comes with your device. In the user manual, you get all the details related to your extender.
-
Click on Log In Button
Change the Admin Password
The Rockspace extender setup wizard will appear. From here you can change your extender admin details. To change the password you need to follow some sub-steps outlined below.
Once you enter in the extender login page you need to go to Menu Settings.
-
Click on the Advance Settings
-
Now, you also need to select the Administration option.
-
Select the Change Password option.
-
Change password panel will appear.
-
Here, you need to fill in the old password one time and the new password two times in the on-screen fields.
-
Thereafter, click on the Apply and Save Button.
Hence, these are the steps that you need to perform to change the admin credentials hassle-free.
Conclusion
Now, you know very well about the process to change the admin credentials. You just need to read and implement the above-mentioned steps. Once you follow the steps you will be able to change the password of your extender and make your home network secure as well. Read more.

